Install Removable Rail Hardware
Set T-nuts and bolt locations so the padded rail and center field can come off for cleaning and moving.
What you’re building in this step
A bolt-on system using T-nuts so the padded rail (and center playing field, as designed) can come off without tearing anything apart. That’s how you clean spills, move the table, and re-cover the rail later.
Why T-nuts
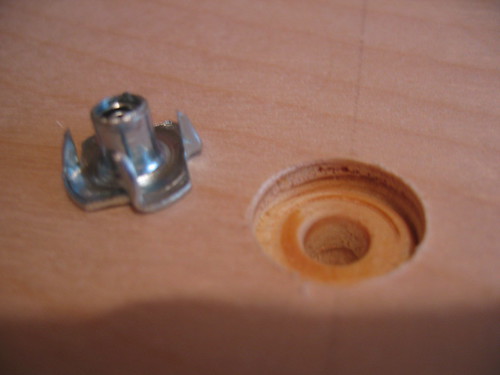
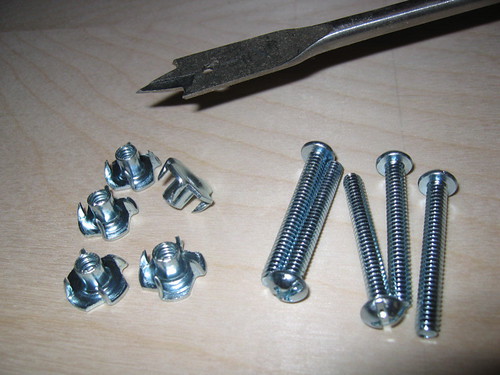
T-nuts let you thread bolts from below without a loose nut spinning on top. Countersink the T-nut on the foam side of the center piece so it sits flush, then drill matching through-holes in the baseboard.
Lay out positions evenly around the oval so the piece pulls down flat without rocking.
Seat each T-nut
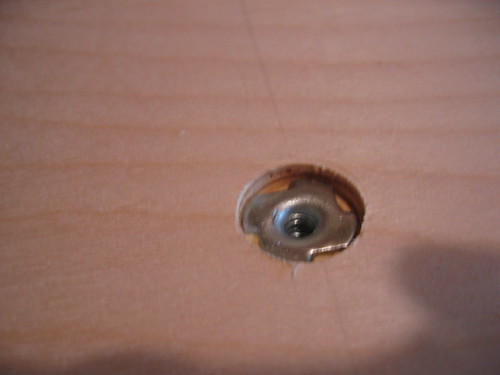
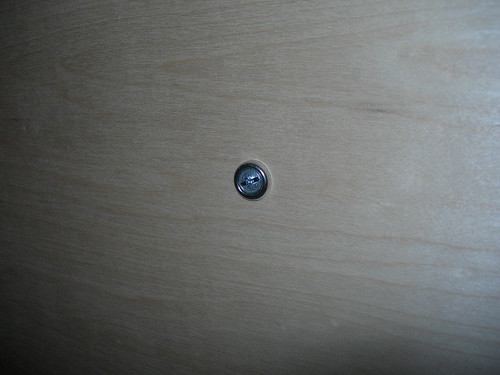
The through-hole goes all the way through; the countersink is only deep enough for the T-nut flange and prongs. Press or tap the nut home so the prongs lock into the plywood. From the top it should sit flush; you’ll cover this area with padding and cloth later, so it doesn’t need to look finished—it needs to hold.
Thread a bolt in by hand after seating each nut to confirm it didn’t crush or tilt.
Drill and fasten carefully
Use a countersink bit and bolts/washers sized for your T-nuts. Washers on the underside spread the load so you don’t crush the plywood face. Mark all holes from consistent centerlines so left and right sides mirror each other.
Tip: Snug is enough. Over-tightening strips T-nuts in plywood quickly. If a nut spins, back out, add a drop of epoxy under the flange, and reset it.
Useful for this step
Tools and supplies that match the work above. Full list on the materials and tools pages.
1/4"-20 T-Nuts (Pack)
T-nuts let the padded rail and center field bolt on and off. Countersink flush on the foam side.
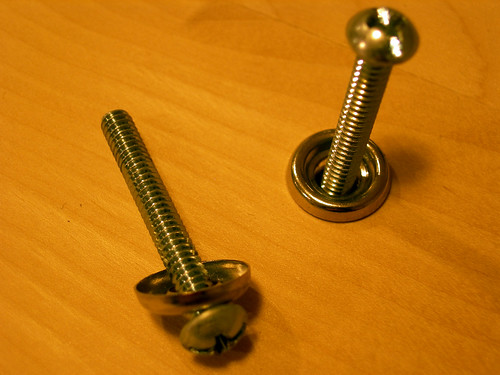
1/4"-20 Bolts & Washers
Matching bolts and washers for the T-nuts. Snug is enough—don’t strip plywood.
Cordless Drill / Driver
Pilot holes, T-nut install, cup-holder hole saw, and driving screws.